Spanish
 Arabic
 French
 Portuguese
 Belarusian
 Japanese
 Russian
 Malay
Malay Icelandic
 Bulgarian
 Azerbaijani
 Estonian
 Irish
Irish Polish
 Persian
 Boolean
 Danish
 German
 Filipino
 Finnish
 Korean
 Dutch
Dutch Galician
 Catalan
 Czech
Czech Croatian
 Latin
Latin Latvian
 Romanian
 Maltese
 Macedonian
 Norwegian
 Swedish
 Serbian
 Slovak
 Slovenian
 Swahili
 Thai
Thai Turkish
 Welsh
Welsh Urdu
Urdu Ukrainian
 Greek
Greek Hungarian
 Italian
 Yiddish
 Indonesian
 Vietnamese
 Haitian Creole
 Spanish Basque

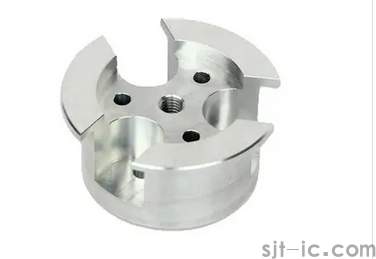
Hey there, fellow machinists and workshop enthusiasts! 👋 Ever spent hours setting up and running a CNC job for a guide bushing, only to find the final part just doesn't fit right or wears out way too fast? It's frustrating, right? You know the part is critical for smooth operation, but getting it perfect feels like a secret art. Well, you're not alone. The truth is, machining a simple-looking part like a guide bushing is packed with tiny details that can make or break your project. Let's break down what you really need to pay attention to when making these essential components.
🤔 What Exactly Are We Trying to Achieve with a Guide Bushing?
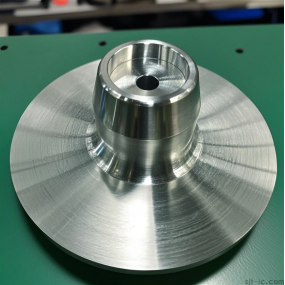
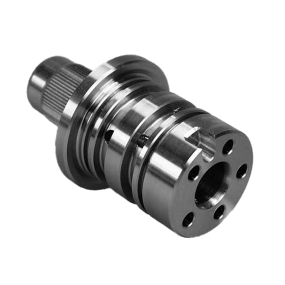
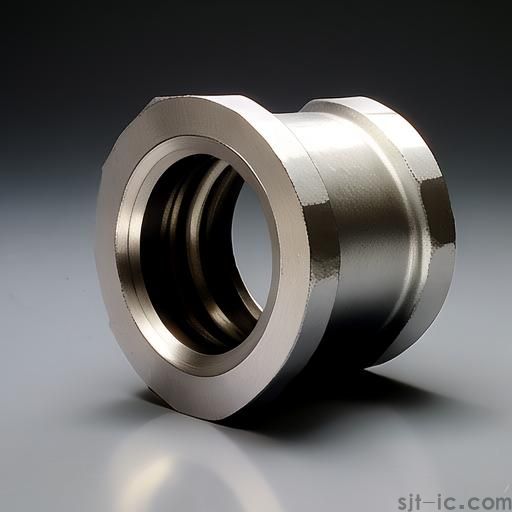
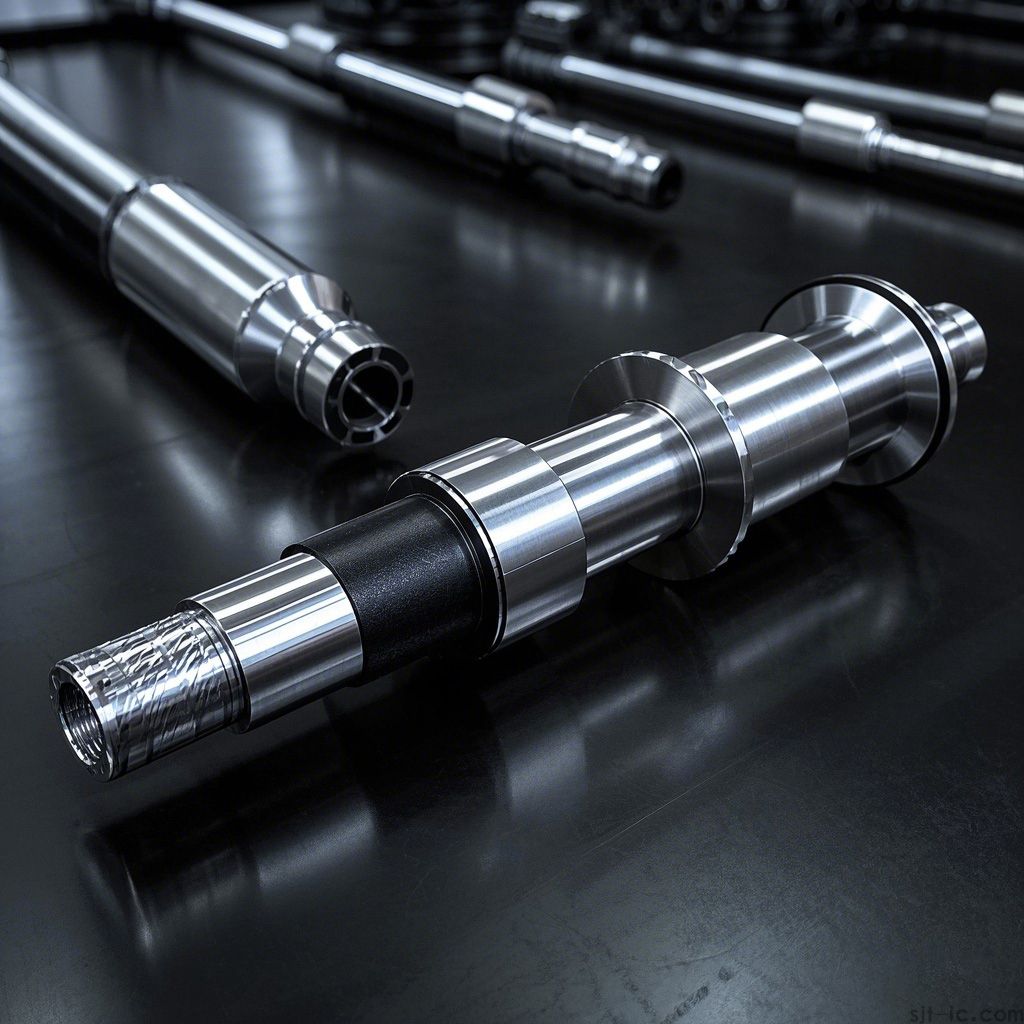
Before we dive into the "how," let's be clear on the "why." A guide bushing isn't just any ring of metal. Its main job is to guide another part (like a shaft or tool) with extreme precision and minimal wobble. It needs to be round, smooth, and tough enough to handle constant movement and pressure. So, when we talk about machining it, we're not just making a hole in a tube; we're creating a high-precision interface that ensures everything else runs smoothly. If this foundation is off, the whole assembly suffers.
🔥 Top Things to Watch Out For During Machining
Okay, here's the meat of it. I've messed up a few in my time, so learn from my mistakes!
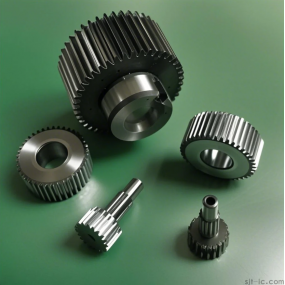
1. Material Choice is Half the Battle: Don't just grab any leftover stock. The material you pick directly affects wear and tear. While hardened steel is a common go-to for its durability, the specific type matters a lot for the service life of the bushing. Using a material that's too soft will lead to rapid deformation.
2. Taming the Heat Monster: This is a big one. During cutting and grinding, heat builds up. Too much heat can soften the material or even cause microscopic cracks, ruining the part's hardness and dimensional stability. Using a good coolant isn't just a suggestion; it's a necessity for quality control.
3. The Inner Diameter (ID) is King: Obviously, the inside hole is the most critical feature. Its size, roundness, and surface finish are everything. A rough or out-of-round bore will cause friction, heat, and premature failure. Achieving a mirror-like surface finish through honing or fine boring is non-negotiable for smooth operation.
🛠️ My Go-To Process for Consistent Results
Over the years, I've settled into a routine that works for me. It might seem straightforward, but skipping steps is where trouble starts.
• Step 1: Roughing it Out: I start by cutting the basic shape from the bar stock, leaving a little extra material all around. This is about removing bulk efficiently.
• Step 2: Facing and Centering: I make sure the ends are perfectly flat and square. Then, I carefully drill the initial pilot hole. Getting this hole centered perfectly is crucial, as all subsequent operations depend on it.
• Step 3: Boring to Perfection: This is where the magic happens. I use a fine boring tool to slowly bring the inner diameter to its final dimension. I take light passes and constantly check with gauges. The goal here is that perfect surface finish and size.
• Step 4: Finishing the Outside: Once the ID is perfect, I turn the outside diameter (OD) to its final size, ensuring it's concentric with the ID. This concentricity is what guarantees the bushing won't wobble once installed.
💡 A Personal Thought on Tolerances
We all work from blueprints with tight tolerance calls, right? Sometimes, it's tempting to push right to the limit of the specification. But here's my two cents: shooting for the middle of the tolerance range often gives you a more robust part. It accounts for tiny variations in temperature or material and makes the bushing more forgiving in the real world. Chasing the absolute limit might look good on the inspection report, but it might not leave any room for real-world conditions. That said, I'm not an engineer, so the exact balance between precision and performance in every scenario is a complex topic I'm still learning about.
❓ But What About Hard Turning?
You might have heard about "hard turning" – machining hardened steel directly. It sounds efficient, right? Skip the heat treatment step after machining. While the technology has certainly advanced, I'm still a bit old-school here. The process requires incredibly rigid machines and specialized tools to avoid damaging the hard, brittle material. For most shops, grinding after heat treatment might still be the safer bet for high-volume production. It's a fascinating area, though, and the best choice might depend heavily on your specific equipment and part requirements.
So, there you have it. It's not just about running the program; it's about thinking through the material, the heat, and every single cut. Paying attention to these details is what separates a good guide bushing from a great one. Hope this helps you on your next machining adventure! 🚀