Spanish
 Arabic
 French
 Portuguese
 Belarusian
 Japanese
 Russian
 Malay
Malay Icelandic
 Bulgarian
 Azerbaijani
 Estonian
 Irish
Irish Polish
 Persian
 Boolean
 Danish
 German
 Filipino
 Finnish
 Korean
 Dutch
Dutch Galician
 Catalan
 Czech
Czech Croatian
 Latin
Latin Latvian
 Romanian
 Maltese
 Macedonian
 Norwegian
 Swedish
 Serbian
 Slovak
 Slovenian
 Swahili
 Thai
Thai Turkish
 Welsh
Welsh Urdu
Urdu Ukrainian
 Greek
Greek Hungarian
 Italian
 Yiddish
 Indonesian
 Vietnamese
 Haitian Creole
 Spanish Basque

Feeling overwhelmed by the complexity of machining a massive mold? 🤯 You're not alone. Getting the process right for large-scale CNC mold making is crucial, yet it's where many face unexpected delays and cost overruns. This guide breaks down the entire workflow into simple, actionable steps, so you know exactly what to expect from start to finish. Let's dive in and demystify the process together! 👇
What Exactly is the CNC Machining Process for Large Molds?
Think of it as a super-precise, automated carving process for giant blocks of metal or plastic. The core question is: what steps transform a raw material into a finished, massive mold ready for production? It's not just one cut; it's a carefully choreographed dance of digital planning and physical machining. While the basic principles are similar to smaller parts, the scale introduces unique challenges in stability, time, and precision control. So, here’s the step-by-step breakdown that answers this big question.
Step 1: The Digital Blueprint - 3D Model & Programming
This is where everything begins. You can't cut what you haven't designed.
✅ Creating the 3D Model: Engineers use special computer software to build a perfect digital replica of the final mold. Every curve, hole, and detail is defined here.
✅ CNC Programming: This is the magic step where the 3D model is translated into a language the CNC machine understands—called G-code. The programmer decides the toolpaths, telling the machine where to cut, how fast to move, and how deep to go. I often find that the time invested in perfecting this stage saves countless hours and headaches later on.
Step 2: Setting the Stage - Material Selection and Fixturing
You've got the plan, now you need the canvas and a way to hold it steady.
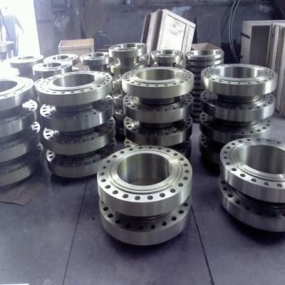
✅ Choosing the Right Material: Large molds are typically made from tough metals like pre-hardened steel or aluminum alloy. The choice depends on the mold's lifespan and the material it will be shaping. Material selection is a key factor for durability.
✅ Fixturing is King: This is arguably the most critical part for large molds. The raw material block, which can weigh tons, must be clamped down incredibly securely. Any slight movement during machining can ruin the entire piece. We use massive clamps, vises, and sometimes even custom fixtures to ensure zero vibration. Honestly, the specific clamping mechanics for different mold shapes can get pretty complex, and that's an area where experience really trumps theory.
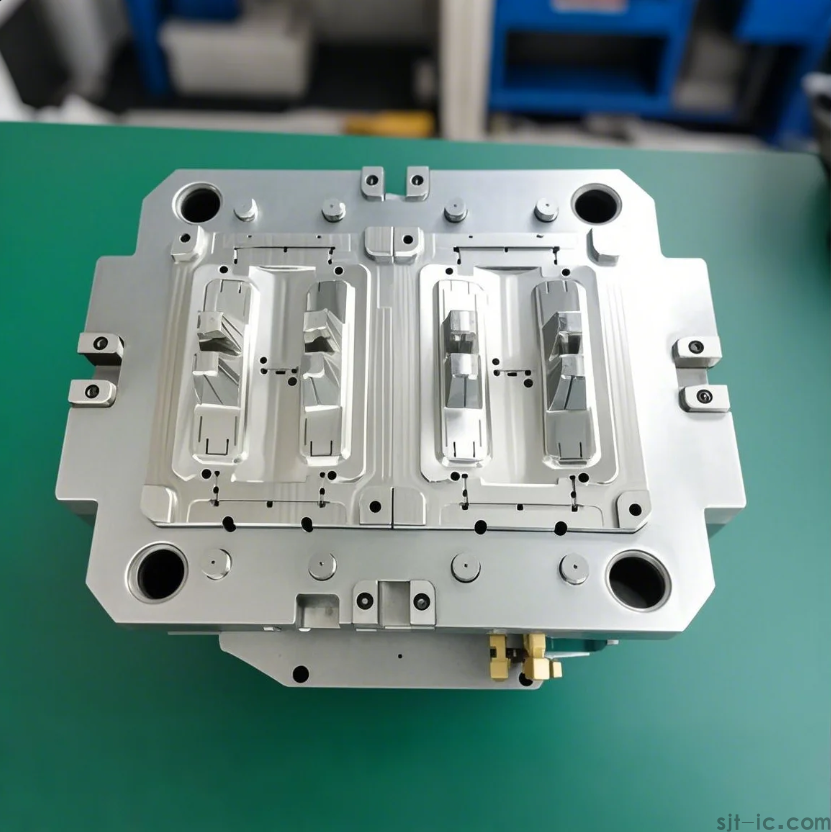
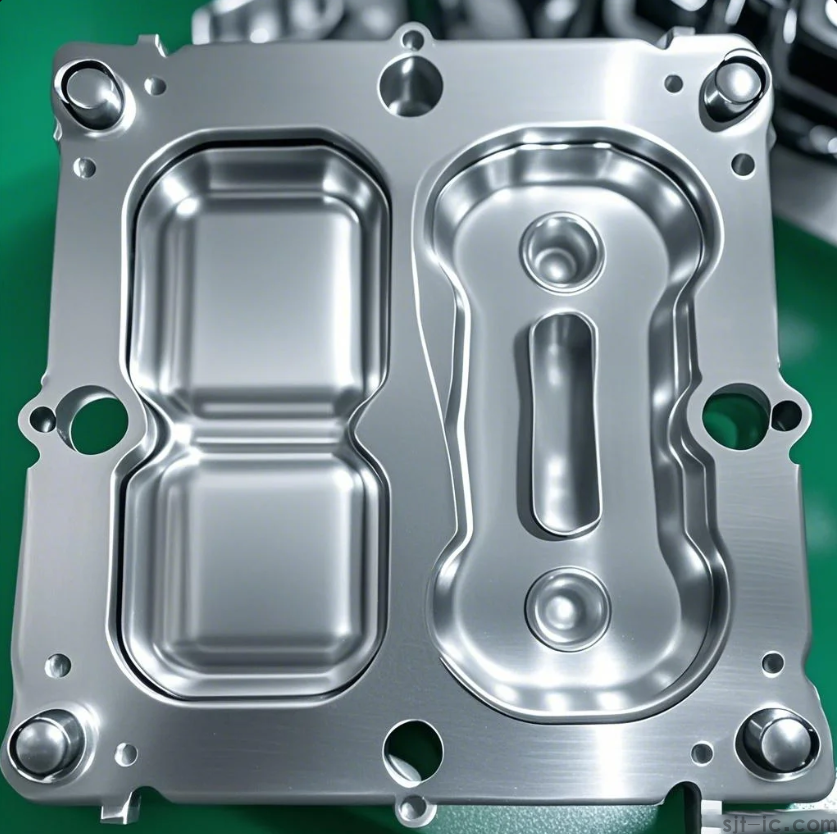
Step 3: The Main Act - Roughing and Finishing
This is the actual machining, and it happens in (at least) two distinct phases.
✅ Roughing: Here, the machine uses a powerful but less precise tool to quickly remove the bulk of the material. It's like a sculptor using a large chisel to block out the basic shape. The goal is speed and efficiency, not a smooth surface.
✅ Finishing: After roughing, the mold is close to its final shape but rough to the touch. Finishing passes use smaller, more precise tools to carefully shave off the last millimeters of material. This achieves the final dimensions and the required smooth surface texture. The transition from roughing to finishing is where a lot of the artistry lies.
However, it's worth noting that the exact number of finishing passes needed for an optimal surface might vary based on the material's behavior, a detail that sometimes requires a test run.
Step 4: The Final Touches - Inspection and Hand Finishing
The machine has done its job, but is the mold perfect? Almost.
✅ Precision Inspection: Technicians use high-precision tools like CMMs (Coordinate Measuring Machines) to check every critical dimension against the original 3D model. This ensures the mold is within the specified tolerance.
✅ Hand Finishing: Surprisingly, even the best CNC machines may leave tiny tool marks or need help in tight corners. Skilled craftsmen then step in for manual polishing and detailing. This blend of high-tech automation and human touch is what delivers a flawless result. Perhaps this highlights that perfect automation still has its limits.
Mastering the CNC process for large molds isn't just about running a machine; it's about managing a symphony of digital design, robust fixturing, strategic material removal, and meticulous validation. While this guide outlines the core workflow, the real expertise comes from understanding how these stages interact under the pressure of scale and tight deadlines. The most successful projects I've seen always leave a little room for adjustment in the final finishing phase, acknowledging that the material itself can sometimes have a mind of its own.